
Learning how to freeze meals without freezer burn saves you money, time, and frustration. Freezer burn happens when air reaches your food, causing dehydration and those unappetizing white ice crystals that ruin texture and flavor.
The good news? Preventing freezer burn is simple once you know the right techniques.
Chef Rachel has been batch cooking and freezing meals for years at Mealzyt. She discovered that proper wrapping, the right containers, and a few storage tricks are all you need to keep your make-ahead dinners fresh for months.
This guide walks you through seven proven steps to protect your freezer meals and ensure they taste just as good as the day you made them.
Table of Contents
Table of Contents
What Is Freezer Burn and Why Does It Happen
Freezer burn occurs when moisture evaporates from frozen food and forms ice crystals on the surface. This process is called sublimation. While freezer-burned food is safe to eat, it develops a tough, dry texture and loses flavor. You will recognize it by gray or brown leathery spots and white frost patches.
Air exposure is the enemy. Every time cold, dry freezer air touches your food, it pulls moisture away. Poor packaging with gaps, torn plastic wrap, or unsealed containers allows air to sneak in and damage your meals over time.
Step 1 – Cool Food Completely Before Freezing
Never put hot or warm food directly into the freezer. Hot food raises the freezer temperature, potentially affecting other frozen items, and creates excess moisture inside containers that turns into freezer burn later.
How to do it:
- Let cooked meals sit at room temperature for 30 minutes to 1 hour until completely cool
- Place hot soups or stews in a shallow pan to speed cooling
- Once cool, proceed to packaging immediately
Pro Tip: Do not leave food at room temperature for more than 2 hours. Food safety matters as much as freezer burn prevention.
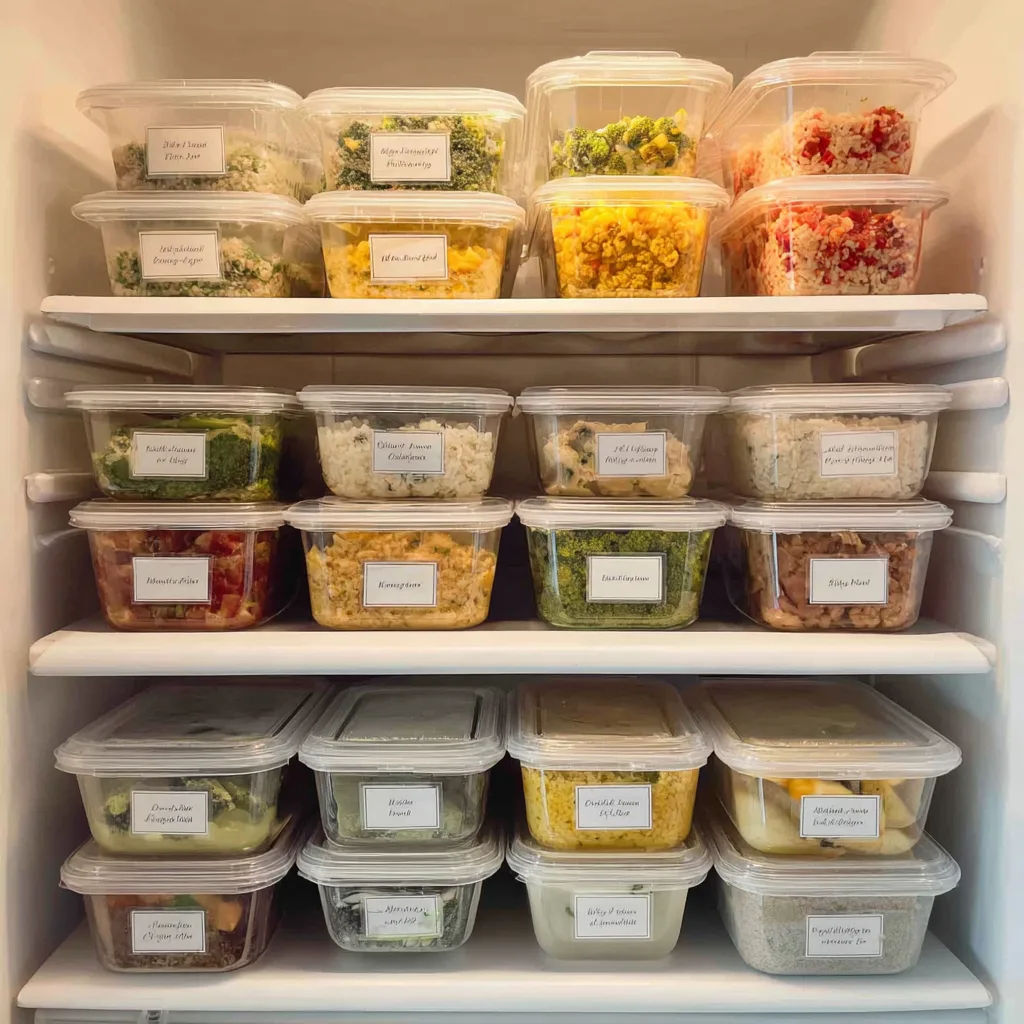
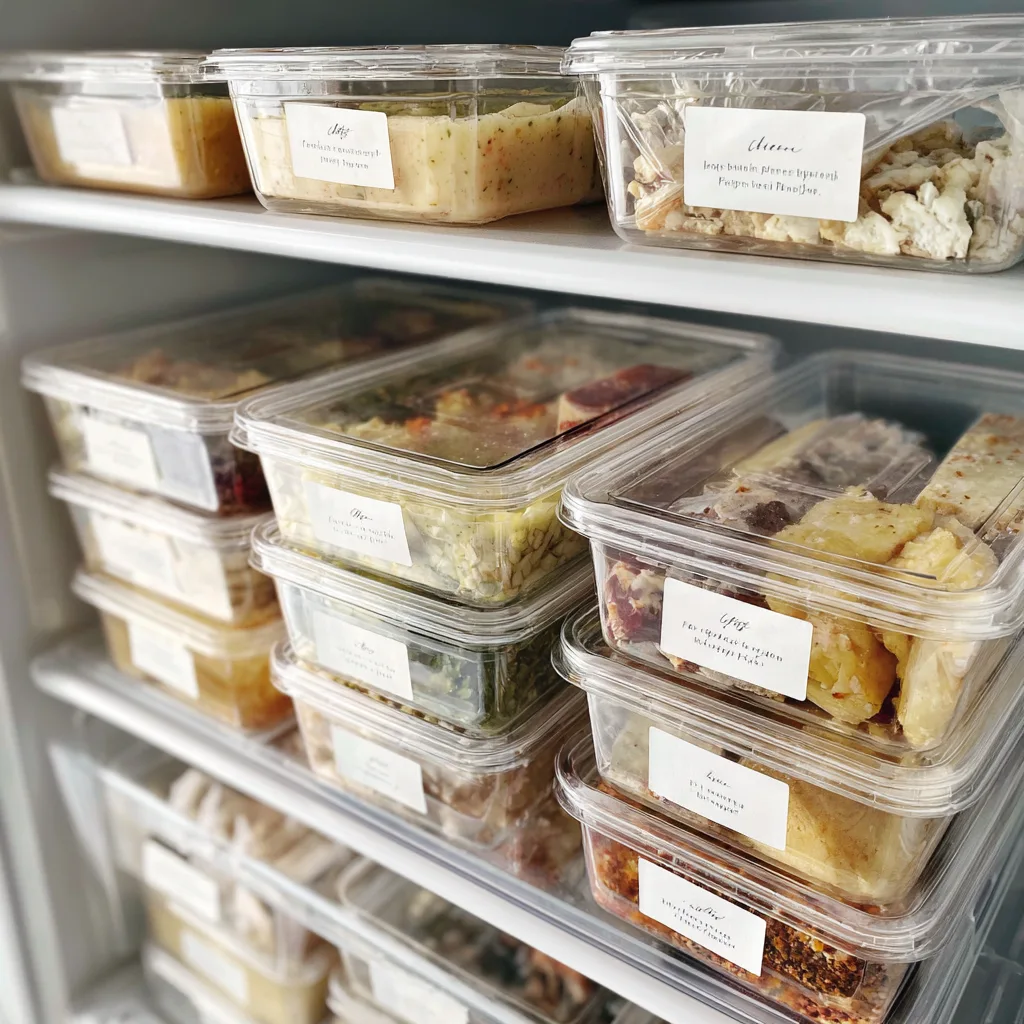
Step 2 – Choose the Right Containers
Your container choice makes or breaks freezer meal success. Not all storage options protect against freezer burn equally.
Best options:
- Freezer-safe plastic containers with tight-fitting lids – Reusable and stackable
- Glass containers with airtight lids – No plastic chemicals, great for reheating
- Heavy-duty freezer bags (2.5 mil thickness or higher) – Space-saving and affordable
- Vacuum-sealed bags – Best option for long-term storage, removes all air
Avoid:
- Regular sandwich bags (too thin)
- Containers with loose or cracked lids
- Aluminum foil alone (needs double wrapping)
Step 3 – Remove All Air Before Sealing
Air is the primary cause of freezer burn. The less air inside your package, the better your food will preserve.
For freezer bags:
- Fill the bag with your meal, leaving 1 inch of space at the top
- Squeeze out as much air as possible while sealing
- Use the water displacement method: Lower the unsealed bag into a bowl of water. The water pressure pushes air out. Seal just before the water reaches the opening
For rigid containers:
- Fill containers to the brim, leaving minimal headspace
- Press plastic wrap directly onto the surface of soups or stews before putting the lid on
- This creates a barrier between food and air
Step 4 – Wrap Properly for Extra Protection
Double wrapping adds insurance against freezer burn, especially for items stored longer than 2 months.
Best wrapping method:
- First layer: Press plastic wrap tightly against the food surface
- Second layer: Wrap entire container or food item in heavy-duty aluminum foil
- Third layer: Place in a freezer bag and seal
This three-layer system works perfectly for baked goods, casseroles, and meats. Yes, it uses more materials, but your meals will taste fresh even after 3 months.

Step 5 – Label Everything with Date and Contents
Unlabeled mystery meals lead to food waste. Even if you think you will remember what is inside, you won’t after a month.
What to write:
- Name of the meal
- Date frozen
- Cooking or reheating instructions
- Number of servings
Labeling tools:
- Permanent marker on freezer bags
- Masking tape or freezer labels on containers
- Pre-printed labels with blank spaces to fill in
Example label: Chicken Enchiladas | 12/01/25 | Serves 4 | Bake 375°F for 45 min from frozen
Step 6 – Freeze Meals Flat and Organize Smartly
How you arrange your freezer affects food quality. Crowded, disorganized freezers trap air pockets and make rotation difficult.
Freezing bags flat:
- Lay filled freezer bags flat on a baking sheet
- Freeze until solid (2-3 hours)
- Once frozen, stand bags upright like books in a bin
- This saves space and prevents crushing
Organization tips:
- Keep a freezer inventory list on the door
- Use bins to group meal types (breakfasts, dinners, sides)
- Place oldest meals in front using first-in-first-out rotation
- Leave space between items for cold air circulation
Step 7 – Maintain Consistent Freezer Temperature
Your freezer should stay at 0°F or below. Temperature fluctuations accelerate freezer burn. Every time warm air enters, moisture migrates to the surface of your food and refreezes as ice crystals.
How to maintain temperature:
- Avoid opening the freezer door unnecessarily
- Do not overload the freezer with too much warm food at once
- Use a freezer thermometer to verify temperature
- Keep freezer at least 75% full. A full freezer maintains temperature better than an empty one
Emergency tip: If power goes out, keep the freezer door closed. A full freezer stays frozen for 48 hours without power if unopened.
How Long Can You Freeze Meals Without Freezer Burn
Even with perfect packaging, frozen food quality declines over time. Follow these timelines:
| Food Type | Maximum Storage Time |
|---|---|
| Cooked casseroles | 2-3 months |
| Soups and stews | 2-3 months |
| Cooked chicken or turkey | 4 months |
| Cooked beef or pork | 2-3 months |
| Baked goods (muffins, bread) | 2-3 months |
| Raw ground meat | 3-4 months |
| Raw chicken pieces | 9 months |
After these timeframes, food remains safe to eat but flavor and texture decline significantly.
How to Fix Freezer-Burned Food
Already have freezer-burned meals? Do not throw them away yet.
Rescue methods:
- Trim off severely freezer-burned areas before cooking
- Use in soups, stews, or casseroles where sauce and seasonings mask the damage
- Add extra herbs, spices, or sauce during reheating to boost flavor
- Shred freezer-burned chicken or beef for tacos where toppings hide texture issues
Honesty check: If more than 25% of the food shows freezer burn, it is probably better to compost it. Quality matters for your meals.
Quick Reference Checklist
Before freezing:
- ✓ Cool food completely
- ✓ Choose freezer-safe containers
- ✓ Remove all air from packaging
- ✓ Double wrap if storing over 2 months
- ✓ Label with name and date
- ✓ Freeze bags flat for space saving
Freezer maintenance:
- ✓ Keep temperature at 0°F or below
- ✓ Organize with bins and inventory list
- ✓ Rotate meals using oldest first
- ✓ Check and replace damaged containers
Frequently Asked Questions for Freeze Meals Without Freezer Burn
Q: Can I refreeze thawed food?
A: If food was thawed in the refrigerator and kept cold, you can refreeze it safely. However, texture and quality decline with each freeze-thaw cycle.
Q: Does freezer burn make food unsafe?
A: No. Freezer burn affects quality, not safety. The food is still safe to eat, just less delicious.
Q: What is the best container material for freezing?
A: Glass containers with airtight lids or heavy-duty freezer bags are both excellent. Glass is better for reheating, bags save more space.
Q: Should I freeze food in glass or plastic?
A: Both work. Glass is chemical-free and oven-safe. Plastic is lighter and less breakable. Choose based on your needs.
Final Thoughts for Freeze Meals Without Freezer Burn
Learning how to freeze meals without freezer burn transforms your meal prep game. Chef Rachel follows these seven steps religiously and her freezer meals taste fresh every single time. The key is removing air, using proper containers, and maintaining consistent temperature. These simple habits protect your investment of time and money in batch cooking.
Start small. Try freezing one double batch of your favorite soup this week using these techniques. You will taste the difference immediately.
Blog and Social Links Footer
More recipes in mealzyt.com.